Getting Started
Activities
Activity Management
Activities generally refer to any interaction, task, or event related to managing relationships with customers or prospects. These may include various steps taken by sales, marketing, and customer service teams aimed at maintaining contact with customers, nurturing leads, and fostering ongoing relationships.
By default, there are 3 activities in the CRM:
Lunch
Call
Meeting
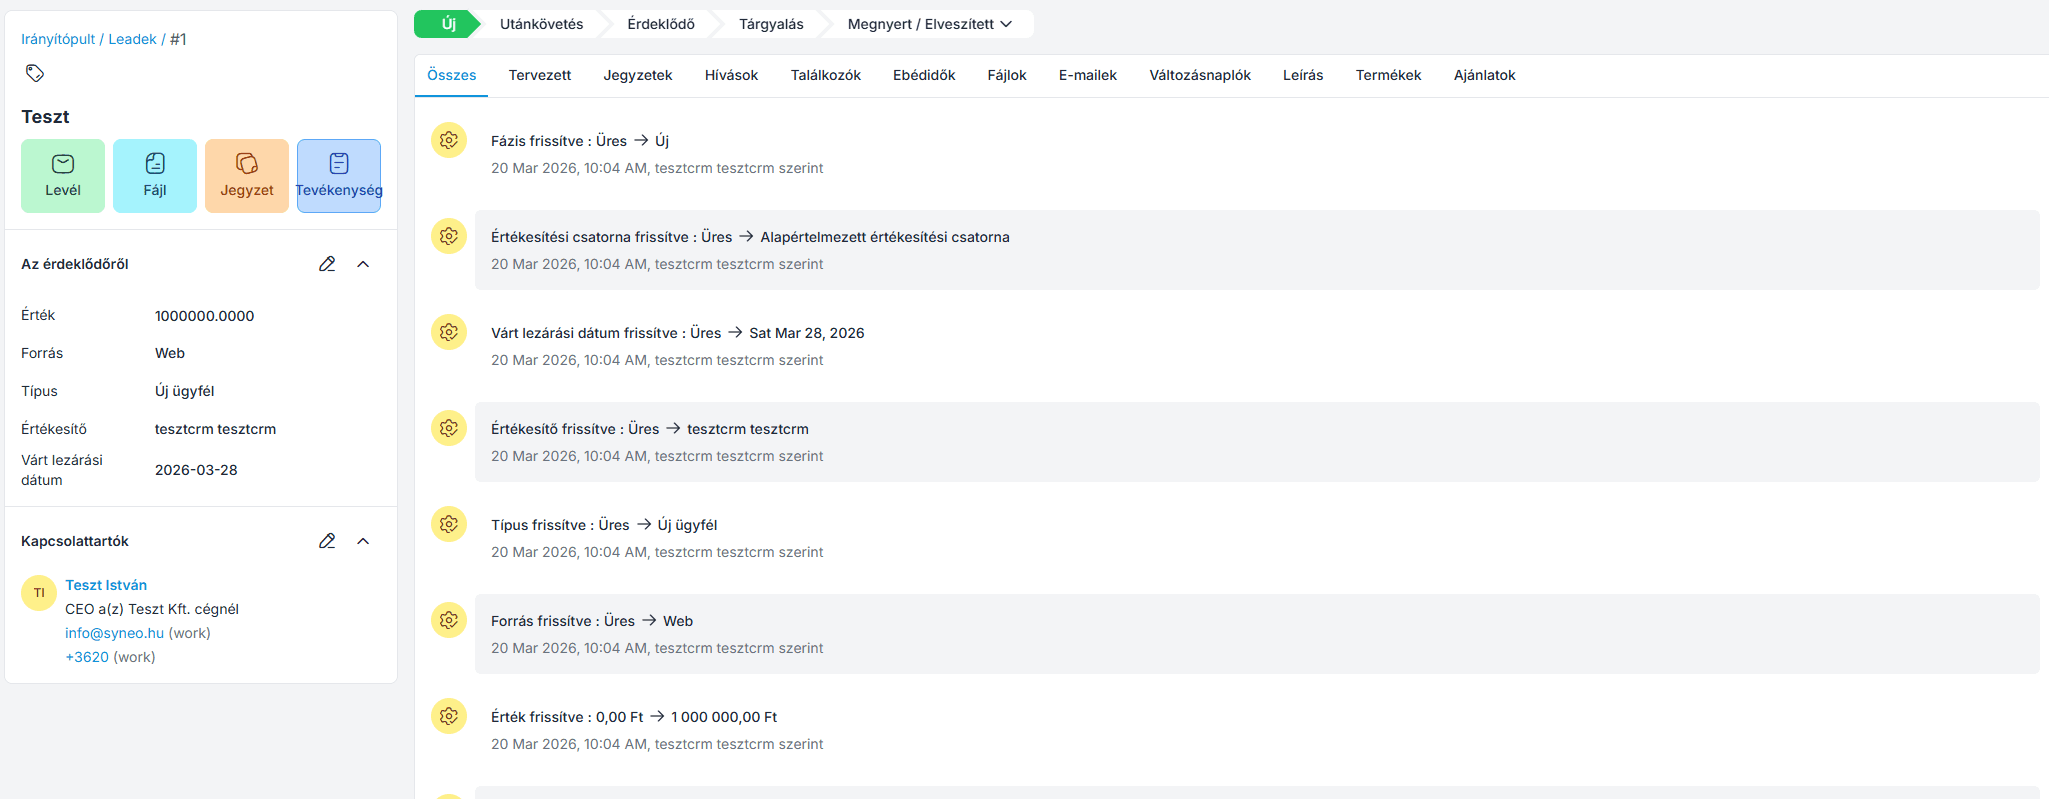
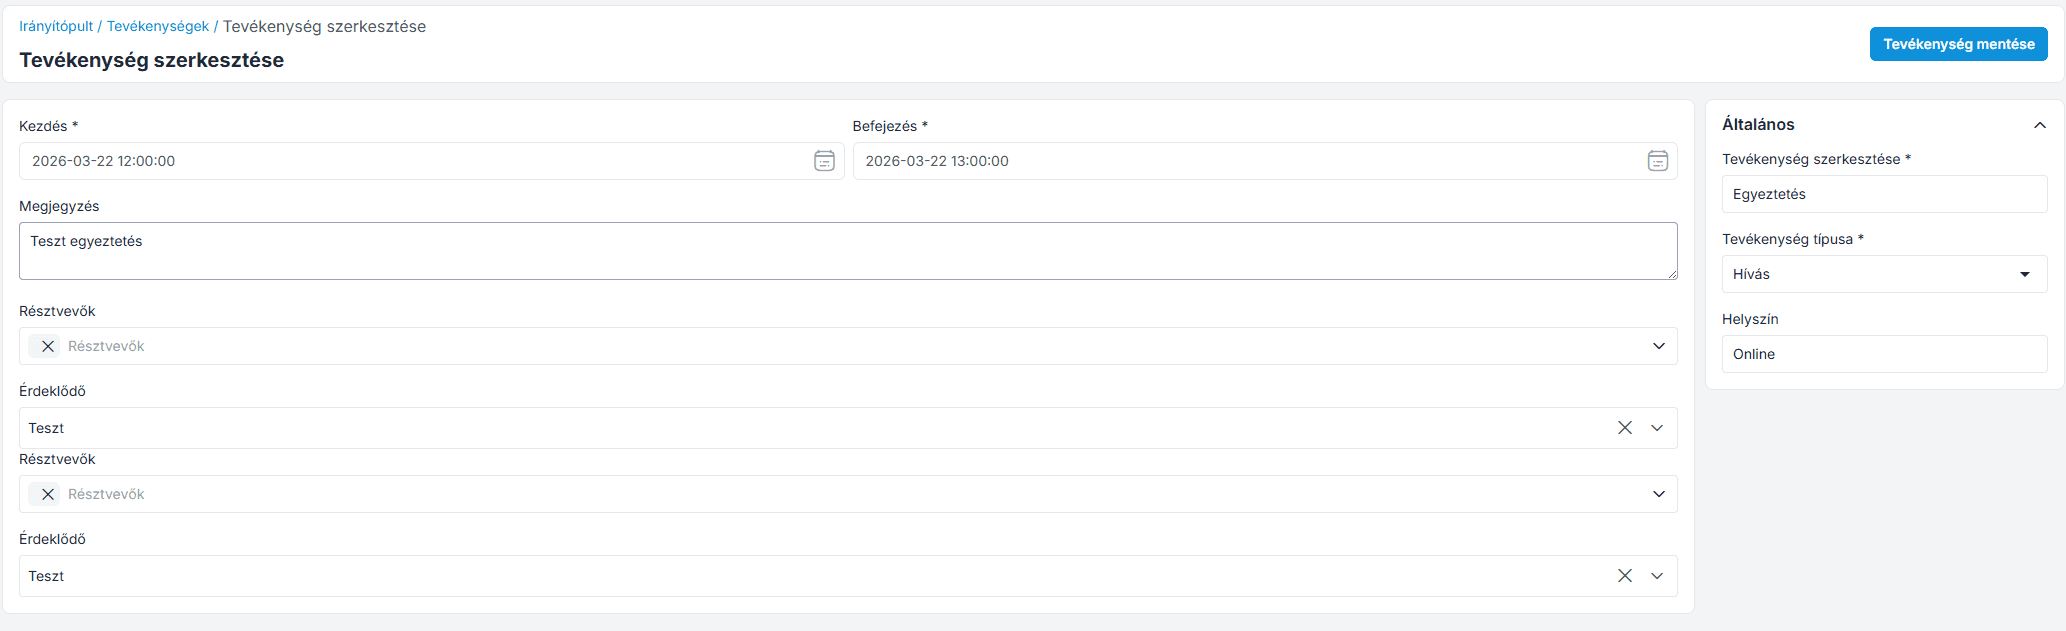
To create an activity, follow these steps:
Go to the admin interface → click on the Leads menu item → open a lead → click on the Activity tab , then enter the following information.
Add an activity – Select the activity type from the drop-down list (e.g., Call, Lunch, Meeting)
Title – Enter the title of the activity
Description – Enter a detailed description of the selected activity
Participants – Add the participants for this activity
Scheduling – Set the start and end dates for the activity
Location – Enter the location of the activity
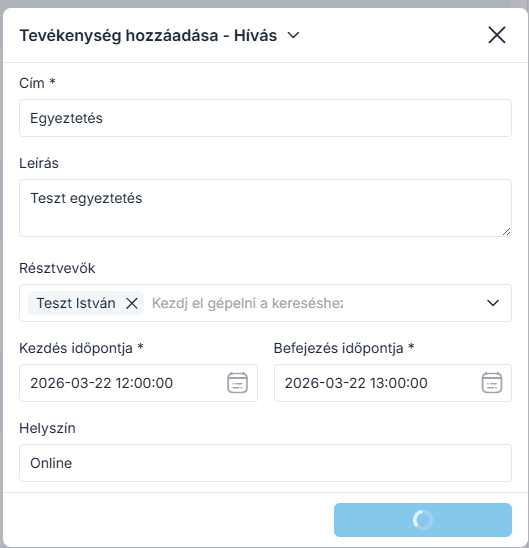
Then click the " Save Activity " button.
The activity will then appear in the " All," " Lunch Break," " Calls," and "Meetings" sections under the appropriate category, as shown in the image below.
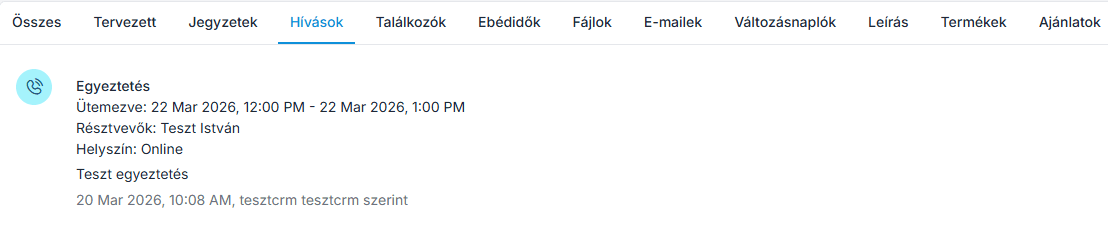
The activity you just created will now appear in the activity list (grid view), as shown in the image below.

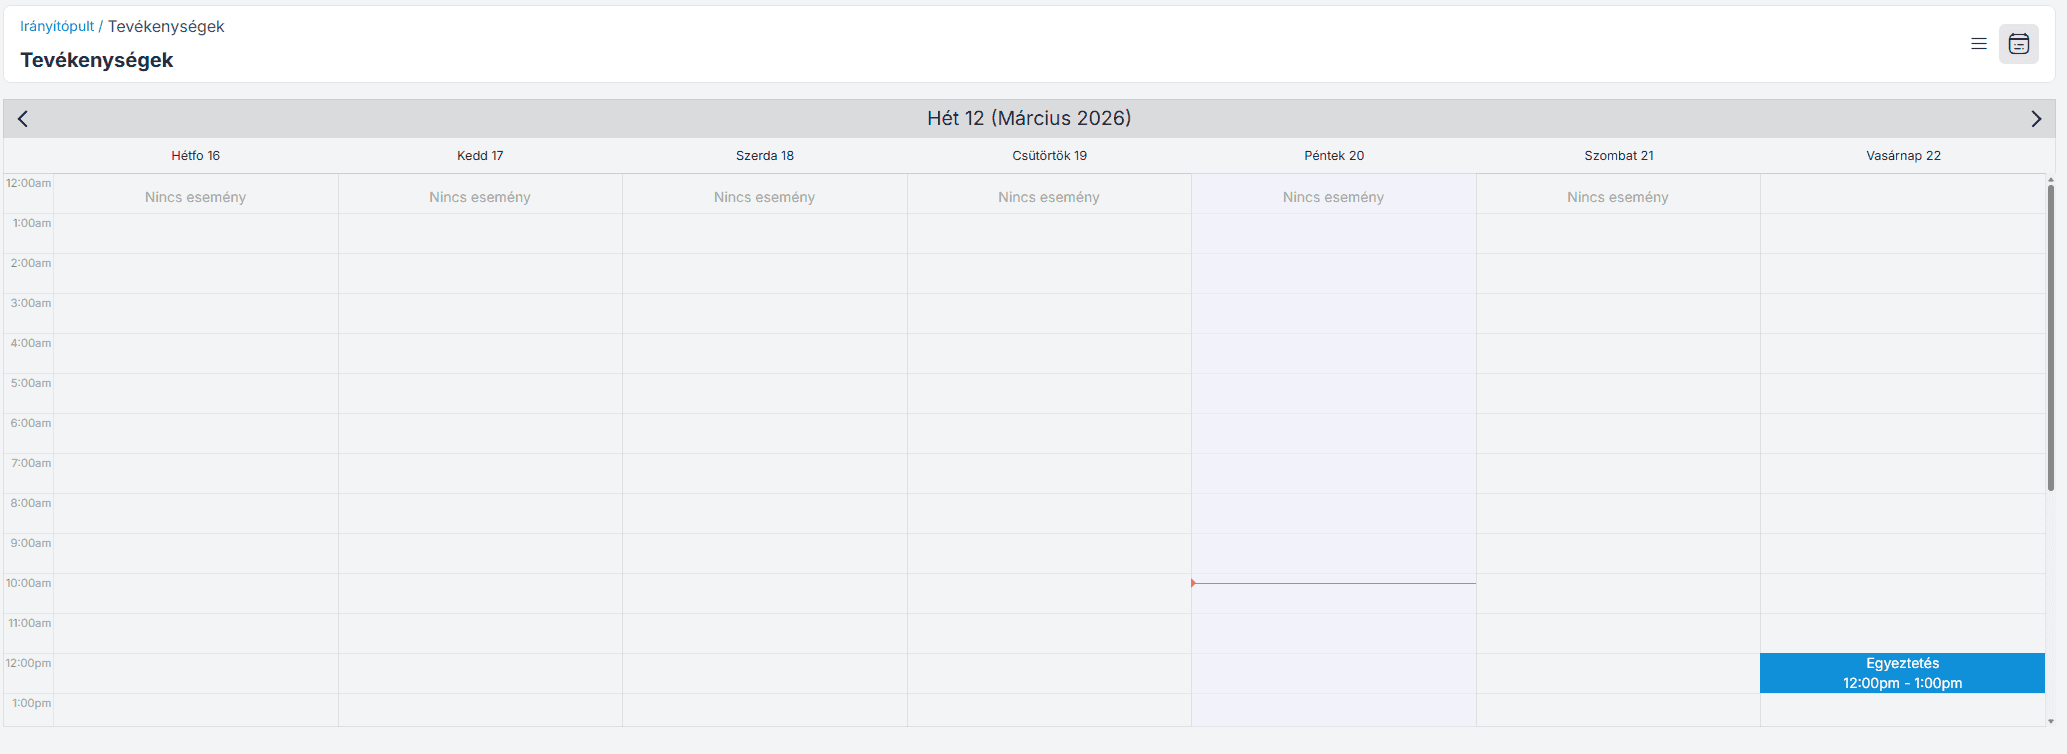
Calendar view
Once you've created the event, you can view it immediately on the Events tab. You can also find the event by clicking on the Calendar view in the upper-right corner, based on the date and time you specified when creating it.
Edit or delete an activity
Use the " Actions " tab to edit or delete the activity, as shown in the figure.
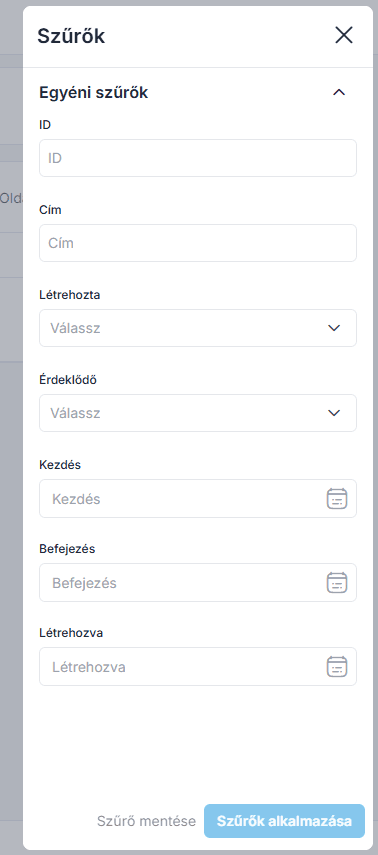
Using filters
Here, you can use the Filter tab to find the activity you're looking for.
By default, the following filters are available, as shown in the image below:
ID
Title
Created by
Lead (Prospect)
Start of scheduling
End of schedule
Date created
Join our Community Forum
Any other questions? Get in touch